The filming and editing process

Creating a How To Tutorial Video

Here, you’ll get a closer look at what exactly went into my how to DIY a sock pumpkin video

Coming Up With An Idea

The first step of this process was to come up with an idea. When simply told “pick something to make a tutorial video about” my mind went blank because the possibilities are ultimately endless.

It wasn’t until I took a short break and scrolled through instagram for a little while that I found an idea. My instagram was (and still is) flooded with DIY Halloween crafts so I took that as my general idea.

I knew that I’d have to come up with back up ideas “just incase” something didn’t work out, although I was confident in my first choice.

For my backup ideas I chose how to bake a dessert and how to turn a sketch into a digital design, but I did not use these.

Making a Timeline

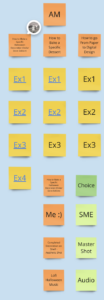
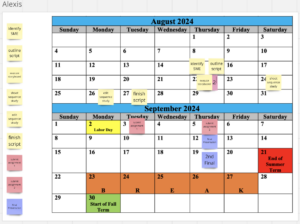
The next step of this process was to use my time wisely. With the help of a digital calendar and the application “Miro Board” I was able to strategically plan out when I wanted to have each step of this project completed by.

I gave myself enough time between drafts/postings/etc so that I could make necessary edits if needed after going over critiques.

To make this timeline work entirely for me, I did a huge portion of the work necessary at home. This included shooting video, compiling rough cuts and doing voice recordings. In class, I primarily fine tuned my editing and worked to make the piece a perfect video.

Developing a Script

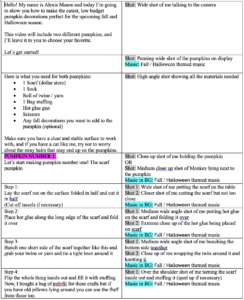
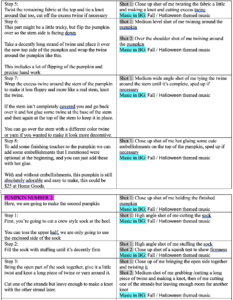
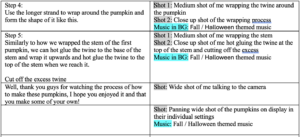
Next, I had to come up with a plan of action so I created a two column script showing what I wanted to say in the video and the shots that I would be doing at the same time.

There was one issue, this plan was far too extensive (exceeded the time limit way too much) for me to carry out. Upon careful consideration of the importance of each step and shot, I decided to cut out creating the first pumpkin completely.

If I was given a larger time limit to the video, I would have definitely included it. However, stay tuned for a possible second tutorial video.

Critique Round 1

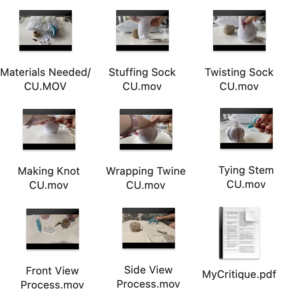
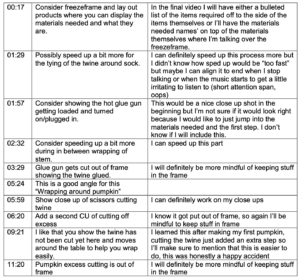
Using my cellphone, I created a sequence study video. This sequence study shows shots that I either planned on including in my video or ones that I wanted to experiment with, but the main purpose of this portion was to show every little detail I planned to include in my final video from multiple angles. The angles I chose to include were primarily close ups, and top down shots.

Critique Round 2

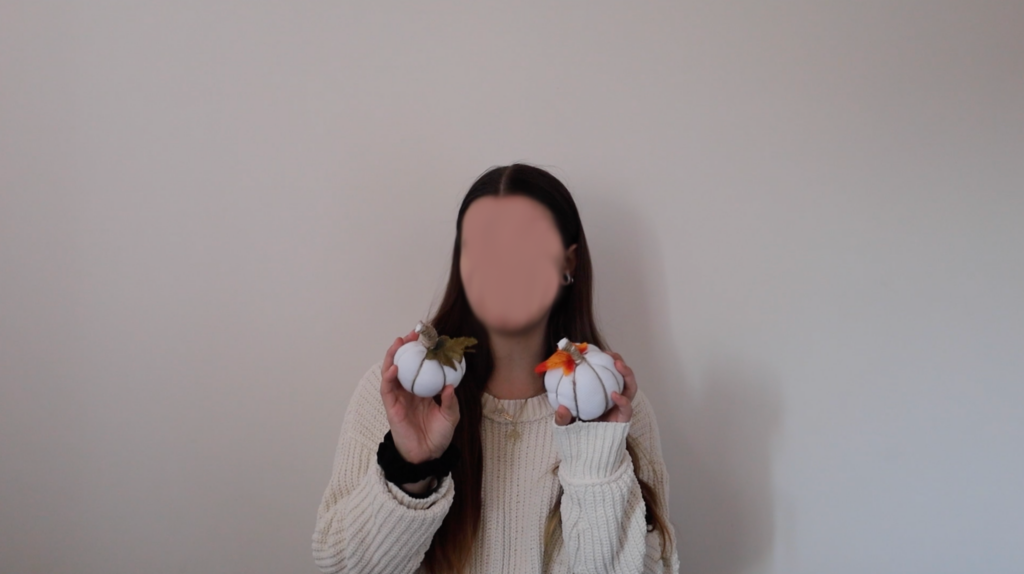
My second round of critiques weren’t as in depth as the first round. In my opening shot I had a lot of headroom and some issues with white balance, but these were things that could be fixed post-shooting so I did not have to reshoot my footage. My volume levels were good, my tutorial shots were good, they were in frame and the instructions were clear.

Picking Out Music

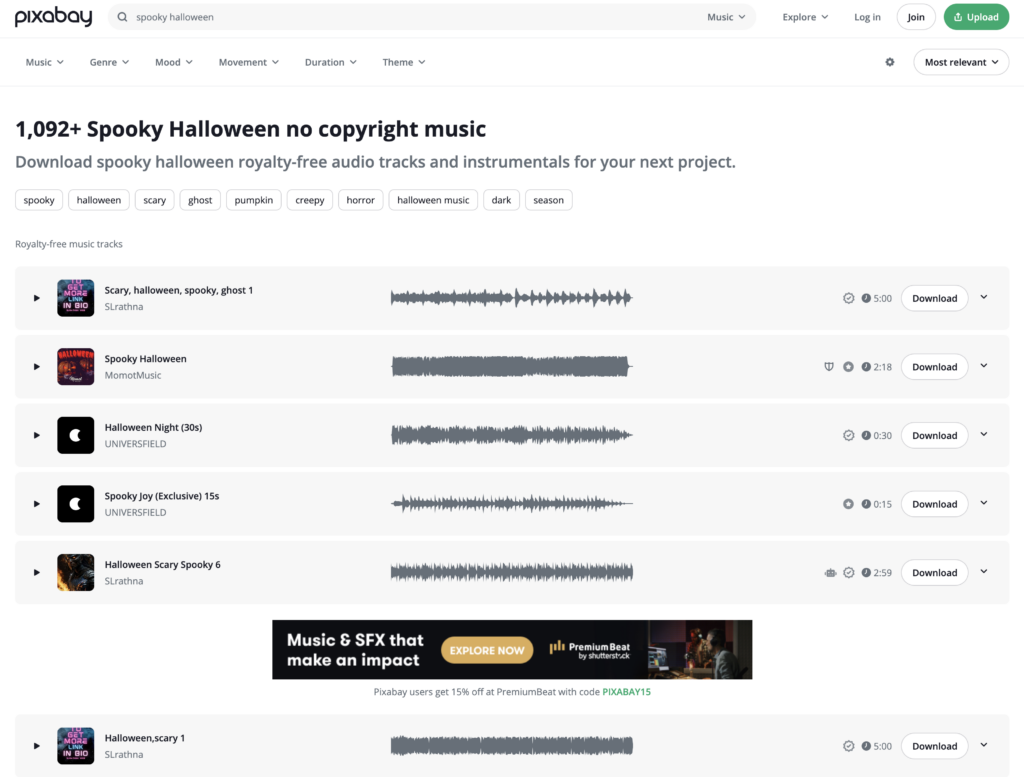
With creating the title sequence in synergy with this tutorial video, I knew that I had to bring the two pieces together in a way. To do so, I decided to choose similar music for the two. My title sequence includes upbeat, spooky music so I decided to include Lo-Fi spooky music to play in the background of me talking. I found both pieces royalty free on Pixabay.

Behind The Scenes

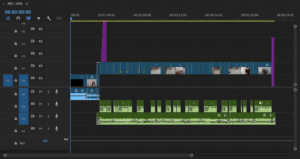
Shown here is a capture of my timeline in Adobe Premiere Pro. Here, you can see the precise editing that went into creating this how to video. From markings, ducking and layering to graphics and audio changes, making this piece perfect took about four weeks.

If I had to change anything about my video, it would likely be my voiceover. While I am speaking clearly and my voice is easy to understand, there are some sections that I could not edit out either a small gasp of breath or a little echo of me moving my microphone while recording. Despite those minimal things, I am proud of how my overall video came out from start to end.
Designing for Social Media

To enhance this piece even more, I was tasked with creating a social media post (specifically an instagram reel) that would entice viewers to watch the full tutorial video. To make this reel, I took interesting segments from the full video and sped them up as needed and pieced them together in a logical order. On a time crunch, I utilized an AI voice to create a voiceover with the tool elevenlabs.io.

Check Out Some More Case Studies

Creating a Movie Trivia Book

Creating a Movie Trivia Book

The process of researching movies throughout the past decades to…
Read More
Creating an Animated Infographic

Creating an Animated Infographic

This one minute video is an animated version of a…
Read More
Ritual Cafe Rebrand

Ritual Cafe Rebrand

A coffee house logo rebrand assignment with requirements of “extras”…
Read More
Creating a How-To Tutorial Video

Creating a How-To Tutorial Video

A look at the process I went through to create…
Read More
Introductory Title Sequence

Introductory Title Sequence

In addition to creating a “how-to” video, I was tasked…
Read More
Whac-a-Mole Diorama

Whac-a-Mole Diorama

A short 15 second video animation (diorama) created with direct…
Read More
Giving My Hometown a Logo-Look Makeover

Giving My Hometown a Logo-Look Makeover

Get an in depth look at the process that I…
Read More
What Webflow’s Steep Learning Curve Taught Me as a Designer

What Webflow’s Steep Learning Curve Taught Me as a Designer

Take a look at the challenges I went through and…
Read More
Mirrors Provide More Than Just An Image– They Provide a New Perspective. 

Mirrors Provide More Than Just An Image– They Provide a New Perspective. 

View my photo-essay and learn more about what I went…
Read More
Creating My First Reel: An Experience & Challenge

Creating My First Reel: An Experience & Challenge

For this assignment, I used C4D to bring my imagined…
Read More